![DecisionLensLogo-standard.svg]](https://supporthub.decisionlens.com/hubfs/DecisionLensLogo-standard.svg)
Adding Projects Manually
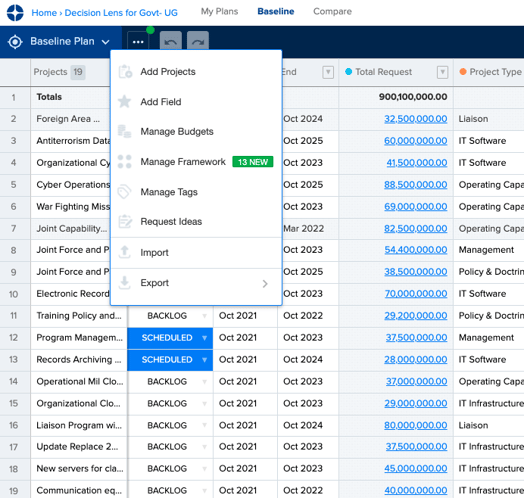
- From the ‘Projects’ page, click ellipses (…) and select the first item from dropdown ‘Add Projects.’
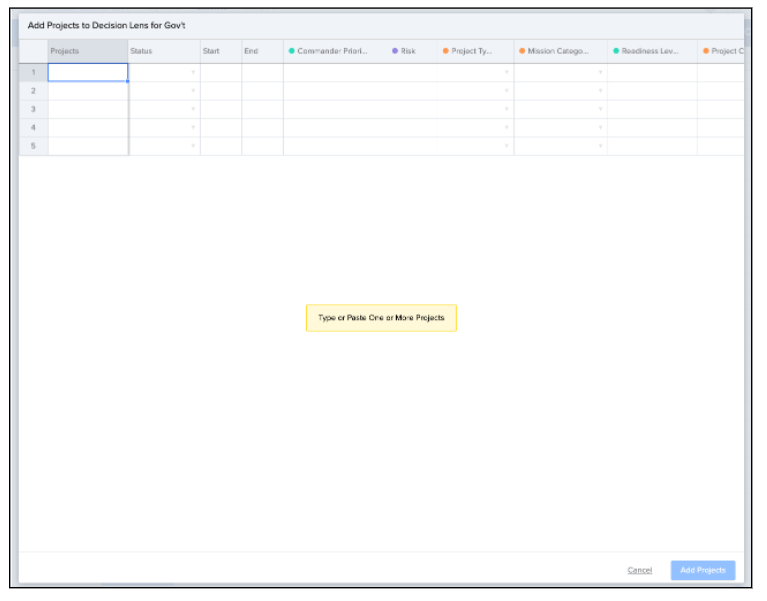
- Copy and paste or enter data into the blank cells to fill in ‘Project’ name and other project metadata.
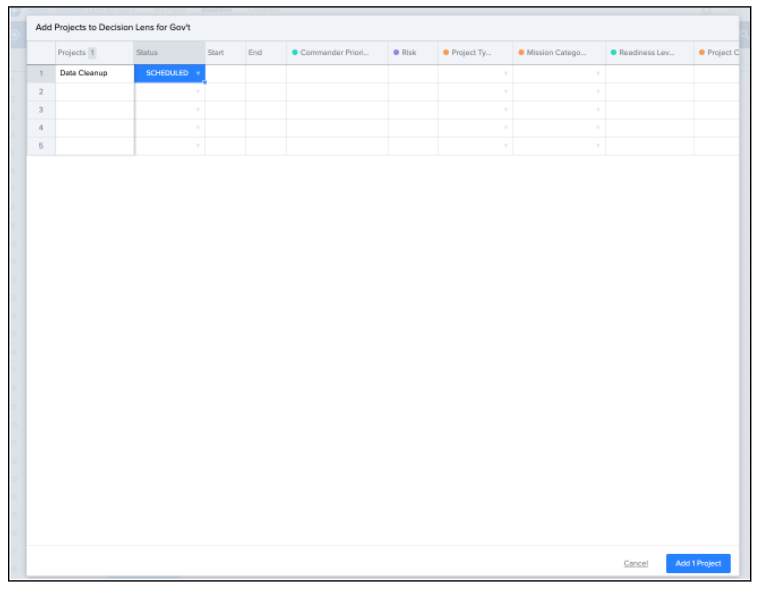
- Once data is populated, select ‘Add Project.’
- The ‘Project’ will now live on the bottom of your Projects list on the ‘Projects’ page.

Adding Fields Manually
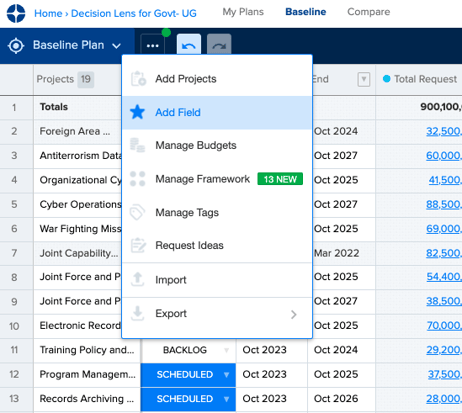
- From the ‘Projects’ page, click ellipses (…) and select the second item from dropdown: ‘Add Field.’
- Add ‘Field Name’, ‘Description’, and ‘Choose a Data Type.’ Then select ‘Add Field.’
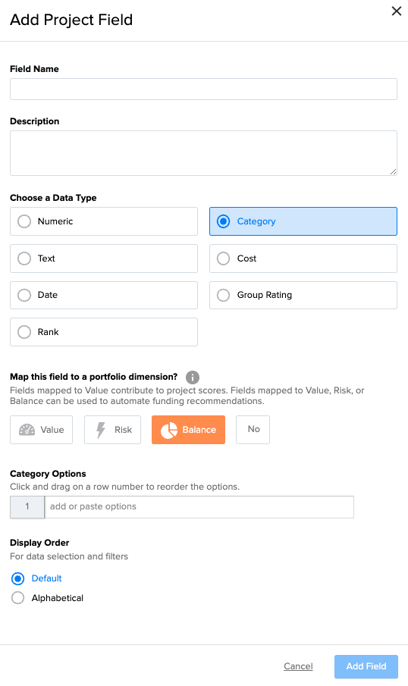
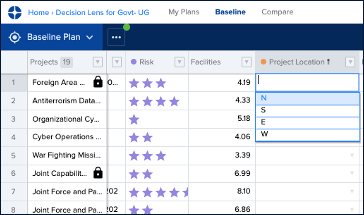
- Your ‘Field’ may be one of many ‘Data Types.’ Our example shows a ‘Category Field’ that can be further defined by adding options, to which you will later assign each ‘Project.’
- The new ‘Field’ will now populate as a column in your ‘Projects’ page.
View our Data Management Video Here
Next Steps
Now that you have added your projects and fields manually, you will want to validate and organize your data. We recommend continuing with these other Decision Lens User Guides:
Familiar Data Interface–Validate & Organize Data
This User Guide is designed to walk you through how to validate and organize your data to ensure it is correct and actionable.