Overview
Create tags to provide a one to many relationship for a project.
Create Project Tags
A Tag Column will be present for all Portfolios as a default Field that can not be removed but can be reordered on the Projects Page.
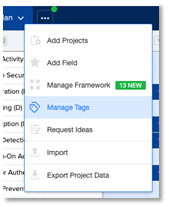
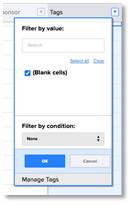
If you do not see the Tags column, use Column Settings to add it into your page. Once added, select the dropdown arrow from the Tags column header and select Manage Tags.


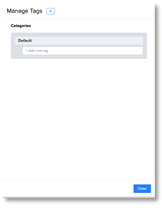
On first entry, there will be a single Category for all tags called “Default”. For simple use cases, all Tags can be comingled into a single grouping “Default” Category which cannot be deleted or renamed. These will always be colored Grey.

Tags can be added by simply typing and hitting enter. Clicking Tab will jump to add a new tag for faster multiple entry.
If desired, new Categories can be created to be able to better organize tags. Adding a new Category will automatically assign a color which cannot be edited at this time. All Tag Category names must be unique and Tags must be unique within a category however, can be duplicated across categories. Tags can also be dragged and dropped across Categories to organize. Tags and Tag Categories can be edited or deleted by clicking on the respective icons while hovering. Deleting a Category will delete all associated Tags.
Double clicking into a cell will display a dropdown of already available Tags. Click a Tag to add it and once clicked, only other available Tags will be options. Once added, Tags will display along with associated Category color. Hovering over a Tag cell will provide more detail of the Tag and Tag Categories.
If desired, new Tags can be added by Typing and hitting enter. New Tags will always be added to Default Category
Sets of Tags can be copied and pasted from one cell to another as a quick means of applying multiple Tags.